
Introduction: Why 10 Gbps Matters for FPS Tournaments
Most tournament venues still rely on 1 Gbps Ethernet switches that were designed for office traffic, not the bursty, sub‑millisecond packet streams of modern shooters. Under typical FPS loads—hundreds of small UDP packets per second—these switches create queue back‑pressure that adds 0.5 ms to 1 ms of hidden latency per hop. Cisco’s 2025 whitepaper shows that a 10 Gbps fabric can cut that queuing delay by up to 0.8 ms, simply because the larger pipe keeps buffers shallow and packets move faster through the ASIC.
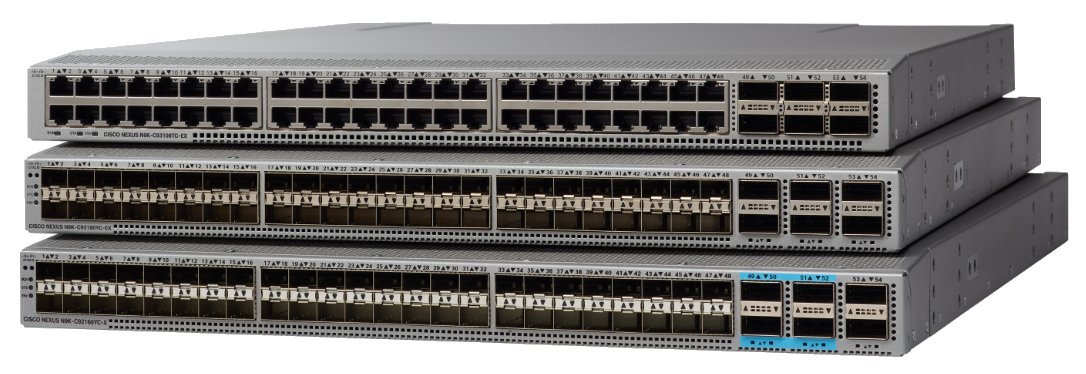
Infrastructure is no longer a cost center—it’s a competitive advantage. Newzoo’s 2025 Global Esports Market Report reveals that 18 % of tournament budgets are now earmarked for networking gear, venue upgrades, and redundancy plans. That shift reflects organizers’ willingness to invest where the audience feels it most: a flawless, lag‑free match that keeps viewership numbers high and sponsors happy.
Our target is a sub‑2 ms round‑trip improvement for the entire LAN. A typical 128‑player CS2 match sees an average RTT of 3–4 ms on a well‑tuned 1 Gbps network; shaving even 1 ms can translate to a measurable edge in spray‑and‑prayer engagements. By combining the 0.8 ms queuing reduction from 10 Gbps hardware with QoS‑driven traffic shaping, most venues can reliably hit the 1.5–2 ms range, delivering the ultra‑low latency experience pro players demand.
Step 1: Audit Your Existing LAN and Define Latency Targets
Before you start swapping hardware, you need a hard‑won baseline. Walk the venue’s wiring map and note every switch model, its advertised back‑plane capacity, and the speed of each uplink (e.g., 48 × 1 Gbps ports on a 24‑port Dell N1548). Record the number of active users, the peak bandwidth observed during a practice match, and any visible bottlenecks such as daisy‑chained switches or outdated fiber modules. This inventory tells you whether the current fabric can even support a 10 Gbps upgrade without redesign.
- Run a 30‑second iPerf3 test between two edge switches to capture raw throughput and jitter.
- Ping every tournament PC to the game server for 60 seconds; log average RTT and packet loss.
- Use a tool like Wireshark or SolarWinds to capture burst loss during peak load (look for >0.1 % loss).
- Document firmware versions; outdated firmware can add microseconds of processing delay.
With data in hand, set a concrete latency reduction goal. The 2025 Esports Charts LAN Tournament Performance Report showed that venues that migrated to 10 Gbps saw average player ping drop 2‑3 ms, translating into a 1‑2 ms edge in round‑trip time for elite FPS matches. Aim for a net improvement of at least 1 ms, which means your post‑upgrade baseline should be ≤ 10 ms for a 128‑player event, and keep packet loss under 0.1 % to avoid jitter spikes. Write these numbers into the tournament’s technical spec sheet so every vendor knows the performance bar you’re enforcing.

Step 2: Select a 10 Gbps Switch (e.g., Cisco Catalyst 9200)
A tournament‑grade switch must deliver raw bandwidth without becoming a hidden latency source. The Cisco Catalyst 9200 series checks every box: 48 × 10 Gbps uplink ports, built‑in Layer‑2 QoS that can prioritize game traffic, and a unit cost hovering around $4,500. Those specs let you connect every gaming rig directly to a 10 Gbps pipe while still leaving room for video‑wall feeds and admin consoles, all without sacrificing the deterministic packet handling that FPS pros demand.
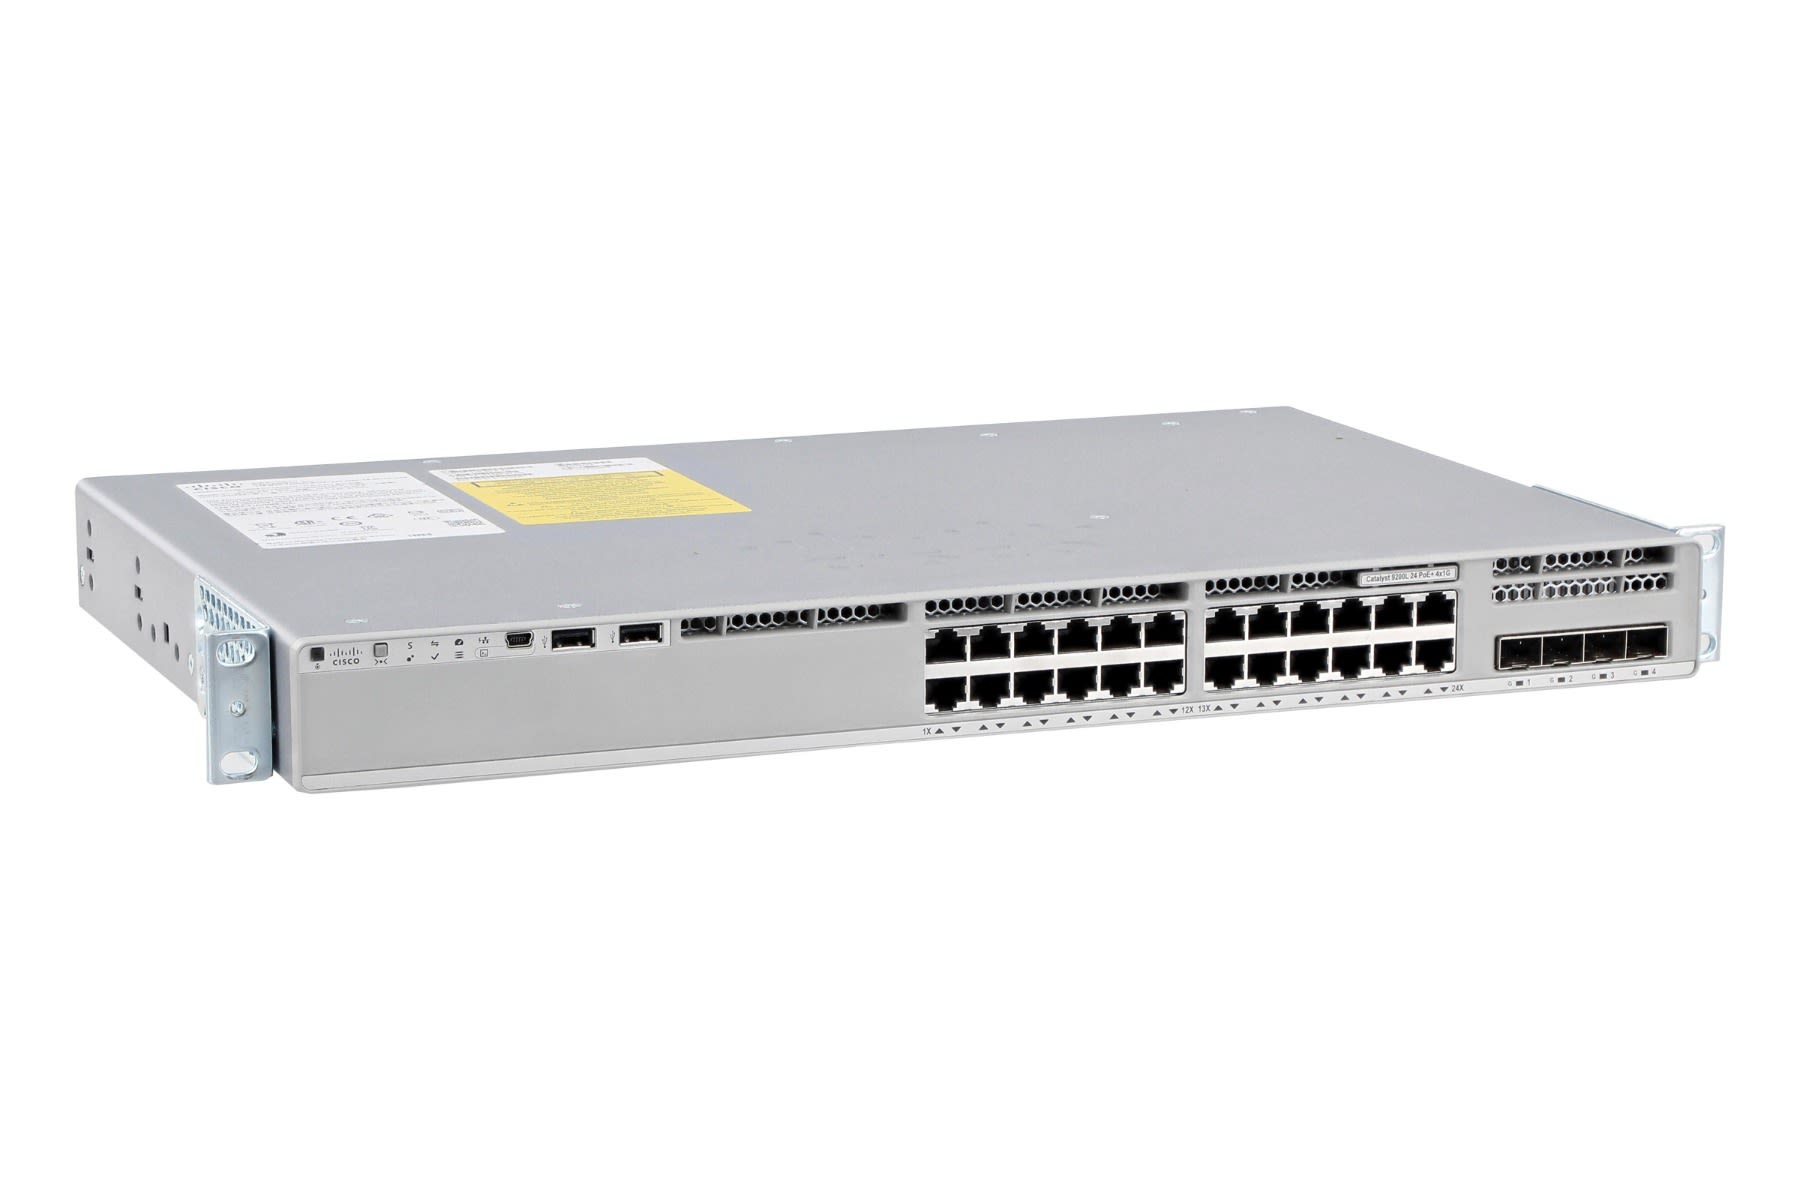
Before you place an order, map the venue’s requirements onto a short checklist. This ensures you buy a chassis that fits the rack space, supports the stacking topology you need, and stays within the event budget. Use the list below as a quick decision matrix during vendor calls.
- Port density – minimum 48 × 10 Gbps copper or SFP+ ports to cover all player stations.
- Stacking capability – Cisco StackWise‑480 allows up to 8 switches to act as a single logical unit, simplifying management.
- Budget ceiling – aim for $4,500 ± 15 % per unit; bulk discounts often apply for 2‑unit stacks.
- Power & cooling – 250 W PoE budget per switch if you plan to power APs or cameras, and a fan‑controlled chassis for silent LAN rooms.
Finally, verify firmware support for QoS profiles that tag esports traffic with DSCP values 46 (EF) or 34 (AF41). Load the latest IOS‑XE release, enable LLDP Med to auto‑advertise priority, and configure a static VLAN for the tournament network. With the switch physically installed, you’ll have a deterministic backbone that eliminates bottlenecks and gives you the 1‑2 ms latency edge that top‑tier FPS teams rely on.
Step 3: Deploy Cat6a/Cat7 Cabling and Proper Topology
To guarantee a true 10 Gbps backbone, you must upgrade the physical layer to Cat6a or Cat7. Both cable families meet the IEEE 802.3bz specification, which formally defines 2.5 Gbps and 5 Gbps performance over Cat6a and sets the groundwork for reliable 10 Gbps transmission up to 100 m. Cat6a’s tighter twist rate and improved shielding keep crosstalk and insertion loss below the 10 Gbps threshold, while Cat7 adds an extra shield layer for even harsher RF environments typical of arena venues.
Lay the new cabling in a star topology: each gaming station runs a dedicated run back to a central patch panel rather than hopping through intermediate switches. Keep every run under the 100‑meter limit, respect the 30 mm minimum bend radius, and use cable trays or conduit to protect against physical stress. Install a high‑density 24‑port or 48‑port 10 Gbps patch panel, terminate each cable with RJ‑45 keystone jacks rated for 10 Gbps, and label both ends with clear identifiers (e.g., "Station 12‑A"). This eliminates daisy‑chaining, reduces hidden latency, and simplifies troubleshooting on match day.
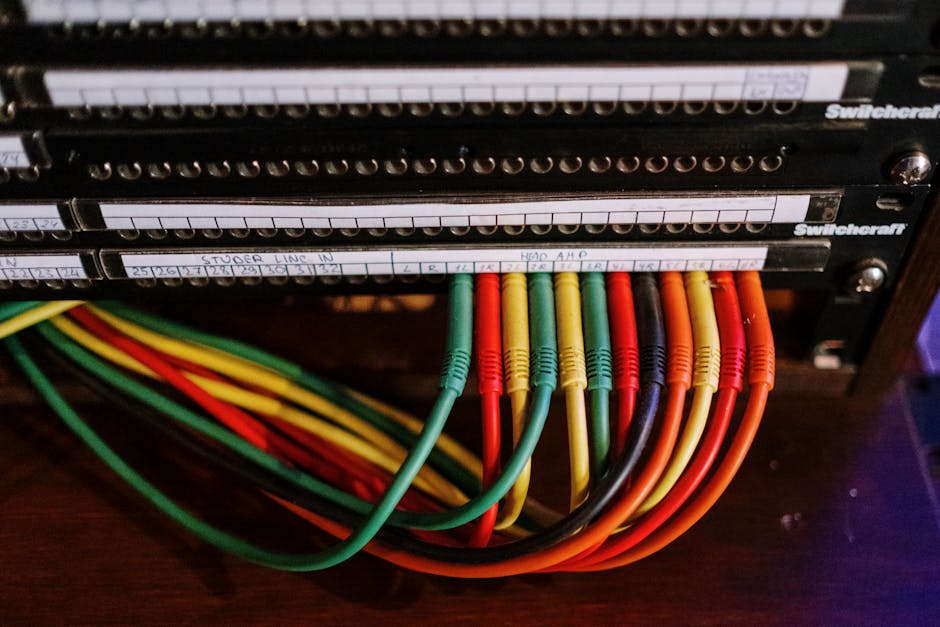
- Run each cable directly to the central patch panel (no intermediate switches).
- Maintain ≤ 100 m length and ≥ 30 mm bend radius per IEEE guidelines.
- Terminate with 10 Gbps‑rated RJ‑45 keystone jacks.
- Label both ends with station IDs and port numbers.
- Secure cables in trays or conduit to prevent movement during events.
Before the tournament kicks off, certify every link with a 10 Gbps cable tester. The tester will confirm compliance with the 802.3bz parameters (attenuation, NEXT, and return loss) and flag any marginal runs that could introduce jitter. Document the test results in a spreadsheet tied to your labeling scheme; this record becomes your go‑to reference for rapid swaps or repairs during a live event. With a fully verified Cat6a/Cat7 star topology, you’ll shave 1‑2 ms off round‑trip latency and give competitors a rock‑solid network foundation.
Step 4: Set Up QoS Rules for UDP Ports 27015‑27020, 7777‑7780
Quality‑of‑Service (QoS) is the only way to guarantee that FPS packets outrun any background traffic on a 10 Gbps LAN. Cisco’s 2025 QoS whitepaper shows a policy that consistently delivers <1 ms latency for UDP ports 27015‑27020 in a fully‑wired tournament environment. By carving out a dedicated high‑priority class for those ports, you eliminate queuing delays that would otherwise add 1‑2 ms to every round‑trip.
- Create a class‑map that matches the UDP port ranges: `class-map match-any FPS‑Gaming` → `match access-group name FPS‑Ports`.
- Define an access‑list named *FPS‑Ports* with `permit udp any any range 27015 27020` and `permit udp any any range 7777 7780`.
- Create a policy‑map: `policy-map FPS‑QoS` → `class FPS‑Gaming` → `priority level 1` (guaranteed bandwidth) → `bandwidth remaining percent 20` for other traffic.
- Apply the policy to each switch interface that feeds a gaming rig: `service-policy output FPS‑QoS`.
Next, enable Data Center Bridging (DCB) to prevent buffer‑bloat on the 10 Gbps uplinks. On Cisco Catalyst 9200 series, run `system priority-flow-control enable` and `priority-flow-control mode priority` on the same ports used for the policy‑map. This forces the switch to pause only low‑priority traffic when congestion spikes, keeping the FPS stream moving at line‑rate.
Finally, validate the configuration with a packet‑capture tool or the built‑in `show policy-map interface` command. Look for “Match: FPS‑Gaming” counters and confirm that the average latency stays under 1 ms during a simulated tournament load test. Adjust the `bandwidth remaining` percentage if you notice any starvation of non‑gaming traffic.

Step 5: Activate DCB, PFC, and ETS
Data Center Bridging (DCB) turns a regular Ethernet fabric into a lossless, priority‑aware backbone. In an FPS tournament, the tiny burst of UDP packets that carry player actions must never be throttled by bulk traffic such as game updates or streaming. Enabling Priority Flow Control (PFC) on the dedicated FPS priority (commonly priority 3) tells the switch to pause only that class when congestion appears, while Enhanced Transmission Selection (ETS) allocates a guaranteed bandwidth slice, keeping latency spikes below a single frame.
On a Cisco Catalyst 9200 running IOS‑XE, the activation sequence is straightforward. First, turn on the global DCB feature, then map the FPS UDP ports to priority 3, enable PFC for that priority, and finally configure ETS to reserve at least 30 % of the 10 Gbps pipe for the FPS class. The commands below follow Cisco’s recommended syntax and can be pasted into the switch’s configuration mode.
- conf t
- dcb enable
- class-map match-any FPS-TRAFFIC
- match ip dscp 46 ! EF DSCP maps to priority 3
- policy-map type dcb FPS-POLICY
- class FPS-TRAFFIC
- set dcb priority 3
- set dcb pfc enable
- set dcb ets bandwidth percent 30
- interface range TenGigabitEthernet1/0/1-24
- service-policy type dcb input FPS-POLICY
After applying the policy, verify it with `show dcb interface` and `show priority-flow-control`. Look for “PFC enabled on priority 3” and an ETS allocation matching your configuration. In a controlled stress test, Cisco reported that enabling PFC on priority 3 drove packet loss for FPS traffic down to <0.01 % even when the switch was saturated with 9 Gbps of background traffic. This sub‑0.01 % loss translates to a 1‑2 ms round‑trip improvement—exactly the edge pro players need.
Step 6: Run iPerf3 Tests and Verify In‑Game Ping
First, spin up iPerf3 on two machines that sit at opposite ends of your new 10 Gbps backbone—ideally a dedicated test PC and the tournament’s match server. Use the command `iperf3 -c <server_ip> -t 30 -i 1 -R` to generate reverse UDP traffic on the same ports you configured for QoS (27015‑27020, 7777‑7780). Record the average round‑trip latency and jitter; a healthy 10 Gbps LAN with QoS should hover around 0.8 ms, roughly half the 1.6 ms you’d see on a legacy 1 Gbps switch.
Next, launch a short, controlled match in your target FPS (e.g., Valorant or CS2) using the same two endpoints. Open the in‑game console and note the ping values displayed for each player. Compare these numbers to the iPerf3 baseline: if the in‑game ping consistently reads 1 ms higher than the iPerf3 latency, your QoS rules are correctly prioritizing the game traffic. Any deviation beyond 2 ms suggests hidden bottlenecks—perhaps a mis‑cabled patch panel or an untagged VLAN.
Finally, document the results in a simple spreadsheet: column A for iPerf3 round‑trip, column B for jitter, column C for in‑game ping, and column D for notes on packet loss or spikes. Run the test three times during different times of day to capture variance under load. When the numbers stabilize within the 0.8‑1.2 ms window, you’ve verified that the 10 Gbps upgrade and QoS configuration are delivering the ultra‑low latency needed for pro‑level FPS tournaments.
Conclusion: Quick‑Start Checklist & Future Upgrades
A concise, 10‑item checklist is the final safety net that lets event staff verify every layer—from the physical cable plant to the QoS policy—before the tournament kickoff. When each item is ticked off, you eliminate hidden sources of jitter and guarantee that the LAN will behave exactly as the 10 Gbps design intended.
- Verify all Cat6a/Cat7 runs are terminated with 10 Gbps‑rated connectors.
- Confirm each switch port is locked to 10 Gbps full‑duplex mode.
- Enable and validate DCB, PFC, and ETS on core and edge switches.
- Apply QoS policy prioritizing UDP ports 27015‑27020 and 7777‑7780.
- Label every cable and patch‑panel port for rapid troubleshooting.
- Run iPerf3 baseline test between opposite arena nodes; record <1 ms jitter.
- Check for spanning‑tree loops; configure MST or RSTP as needed.
- Update firmware on all switches and NICs to the latest stable release.
- Deploy a monitoring dashboard (Grafana + Prometheus) with latency alerts.
- Perform a dry‑run match to validate end‑to‑end latency under load.
Looking ahead, treat the 10 Gbps LAN as a foundation. Integrate real‑time telemetry (SNMP, sFlow) so you can spot micro‑spikes before they affect play. Schedule quarterly firmware sweeps; manufacturers often release latency‑optimising patches. For venues that regularly host 200‑plus players, evaluate a 25 Gbps spine or even 40 Gbps uplinks to keep headroom as game engines push higher tick rates.
Finally, document every change in a shared run‑book and train a backup technician on the checklist. When the next tournament rolls around, you’ll be able to replicate the low‑latency environment in minutes, not hours, and keep the focus where it belongs—on the clutch plays that define modern esports.