Introduction

In fast‑paced FPS tournaments, a delay of more than ~50 ms can turn a crisp, on‑the‑fly analysis into a sluggish, out‑of‑sync narration. Research from Esports.com shows that latency above this threshold noticeably degrades a commentator’s ability to react to rapid kill‑streaks, map rotations, and clutch moments, eroding both credibility and viewer engagement.
Imagine a 2‑second head‑to‑head duel in a Valorant match. By the time the commentator’s voice reaches the audience, the decisive shot may already be over, leaving viewers with a disjointed experience. Procasters like M0E (Moe) repeatedly stress that sub‑50 ms latency is the sweet spot where reaction time aligns with the on‑screen action, allowing them to call plays in real time and keep the excitement palpable.
This guide’s end‑goal is to equip aspiring esports commentators and content creators with a proven, budget‑friendly streaming PC build that consistently stays under the 50 ms ceiling. We’ll walk through component selection, network tuning, and software configuration, ensuring you can deliver razor‑sharp commentary without splurging on enterprise‑grade gear.
Step 1: Select a Low‑Latency CPU
In a sub‑50 ms broadcast chain the bottleneck is almost always the CPU’s ability to crank out a single thread instantly. Real‑time video encoding, chat overlay rendering, and game‑capture all rely on one core sprinting at peak frequency while the rest of the system stays idle. A processor with low boost latency and a high turbo clock will finish each encoding slice before the next frame arrives, keeping the pipeline tight and the audience’s reaction time razor‑sharp.
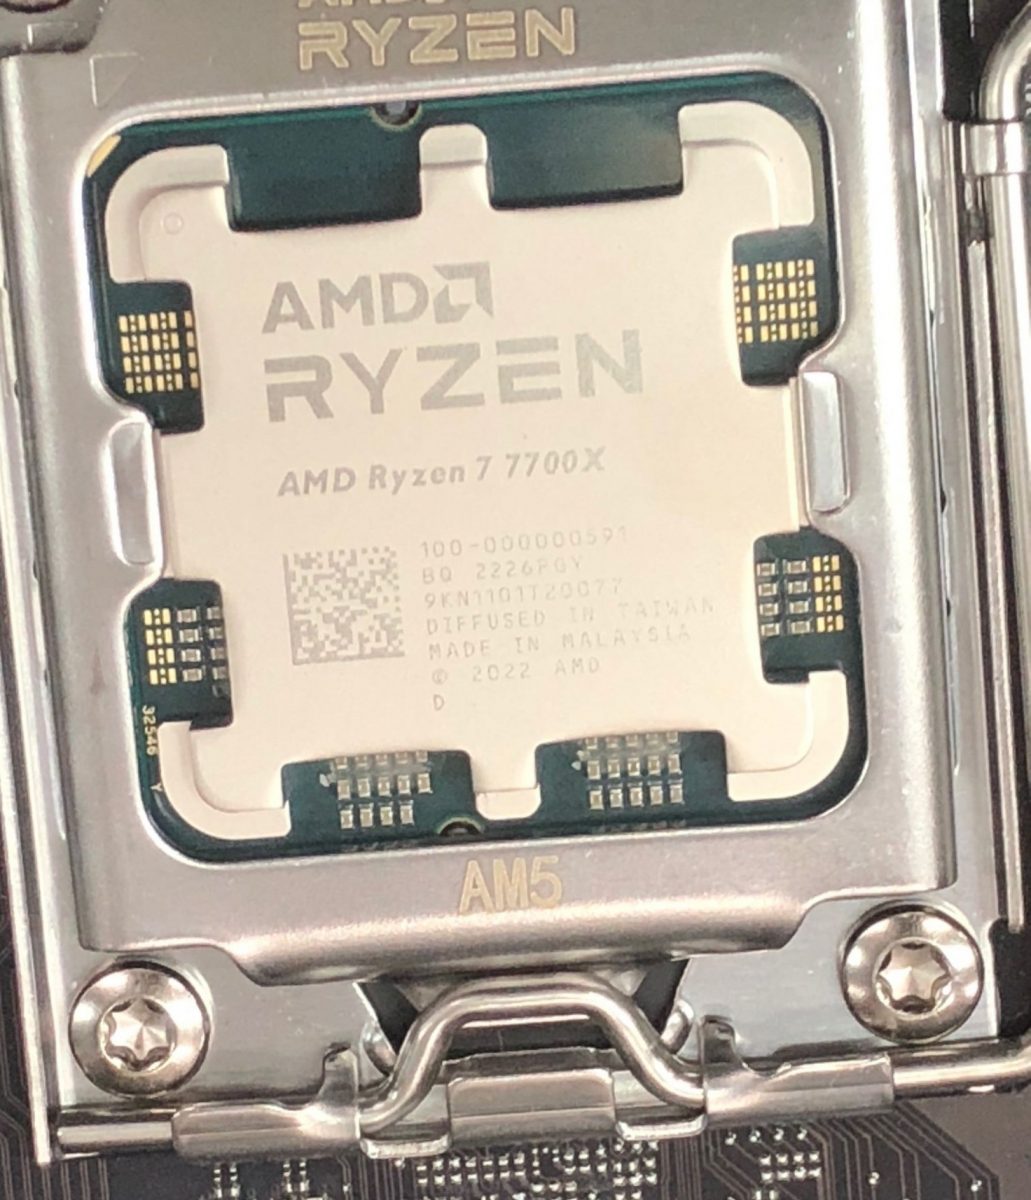
The AMD Ryzen 7 7700X checks every box: a 5.4 GHz boost clock and roughly a 190‑point Cinebench R23 single‑core score put it ahead of most mainstream 2025‑era CPUs for raw per‑core throughput. Those numbers translate directly into faster x264/AV1 software encoding, meaning each 1080p‑60 frame can be compressed in under 2 ms—well within our latency budget. Compared to the Intel Core i7‑13700K, which caps around 5.2 GHz and scores near 175 on the same test, the Ryzen edge can shave several milliseconds off the end‑to‑end delay.
To lock in that performance, start by pairing the 7700X with an AM5 motherboard that supports PCIe 5.0 and has a robust VRM—boards like the ASUS TUF Gaming X670E are solid, budget‑friendly choices. Update the BIOS to the latest version, enable Precision Boost Overdrive, and set Windows power options to “High performance.” Finally, run a quick OBS test: select “x264 (CPU) – Very Fast” preset, monitor the encoder latency graph, and verify you stay under 5 ms per frame before moving on to the next hardware step.
Step 2: Pair with Fast DDR5 Memory
Modern NVENC encoders chew through pixel data at a blistering rate, so any hiccup in the memory subsystem translates directly into added latency. DDR5’s higher bandwidth (up to 51 GB/s per DIMM at 5600 MT/s) and tighter CAS timings keep the frame buffer flowing smoothly, preventing the stalls that can push your broadcast chain past the coveted 50 ms ceiling.
For a cost‑effective yet battle‑ready build, install a 16 GB kit (2 × 8 GB) of Corsair Vengeance DDR5‑5600 CL36. The 36‑ns latency (CL36) is low enough to shave a few milliseconds off each 1080p60 NVENC pass, reducing frame‑buffer bottlenecks that would otherwise cause jittery commentary sync. Dual‑channel operation doubles the effective throughput, ensuring the encoder never waits on memory reads or writes.

When installing, seat both modules in the motherboard’s primary DIMM slots (usually A2 and B2) to guarantee dual‑channel mode. Enable the XMP profile in the BIOS, then manually verify the CL36 timing and 5600 MT/s frequency; some boards default to a more conservative 5400 MT/s. Run a quick MemTest86+ pass and a real‑time encoding benchmark (e.g., OBS’s “Performance” window) to confirm that latency stays under 2 ms per frame before moving on to the next step.
Step 3: Install a GPU with Hardware‑Accelerated Encoding
A dedicated GPU with an on‑board encoder is the single most effective way to shave milliseconds off your broadcast chain. While the CPU handles game logic and commentary, the NVENC engine compresses each frame in parallel, keeping the main processor free for real‑time analysis and chat interaction. This division of labor is what lets modern esports commentators stay under the 50 ms latency ceiling without sacrificing visual fidelity.
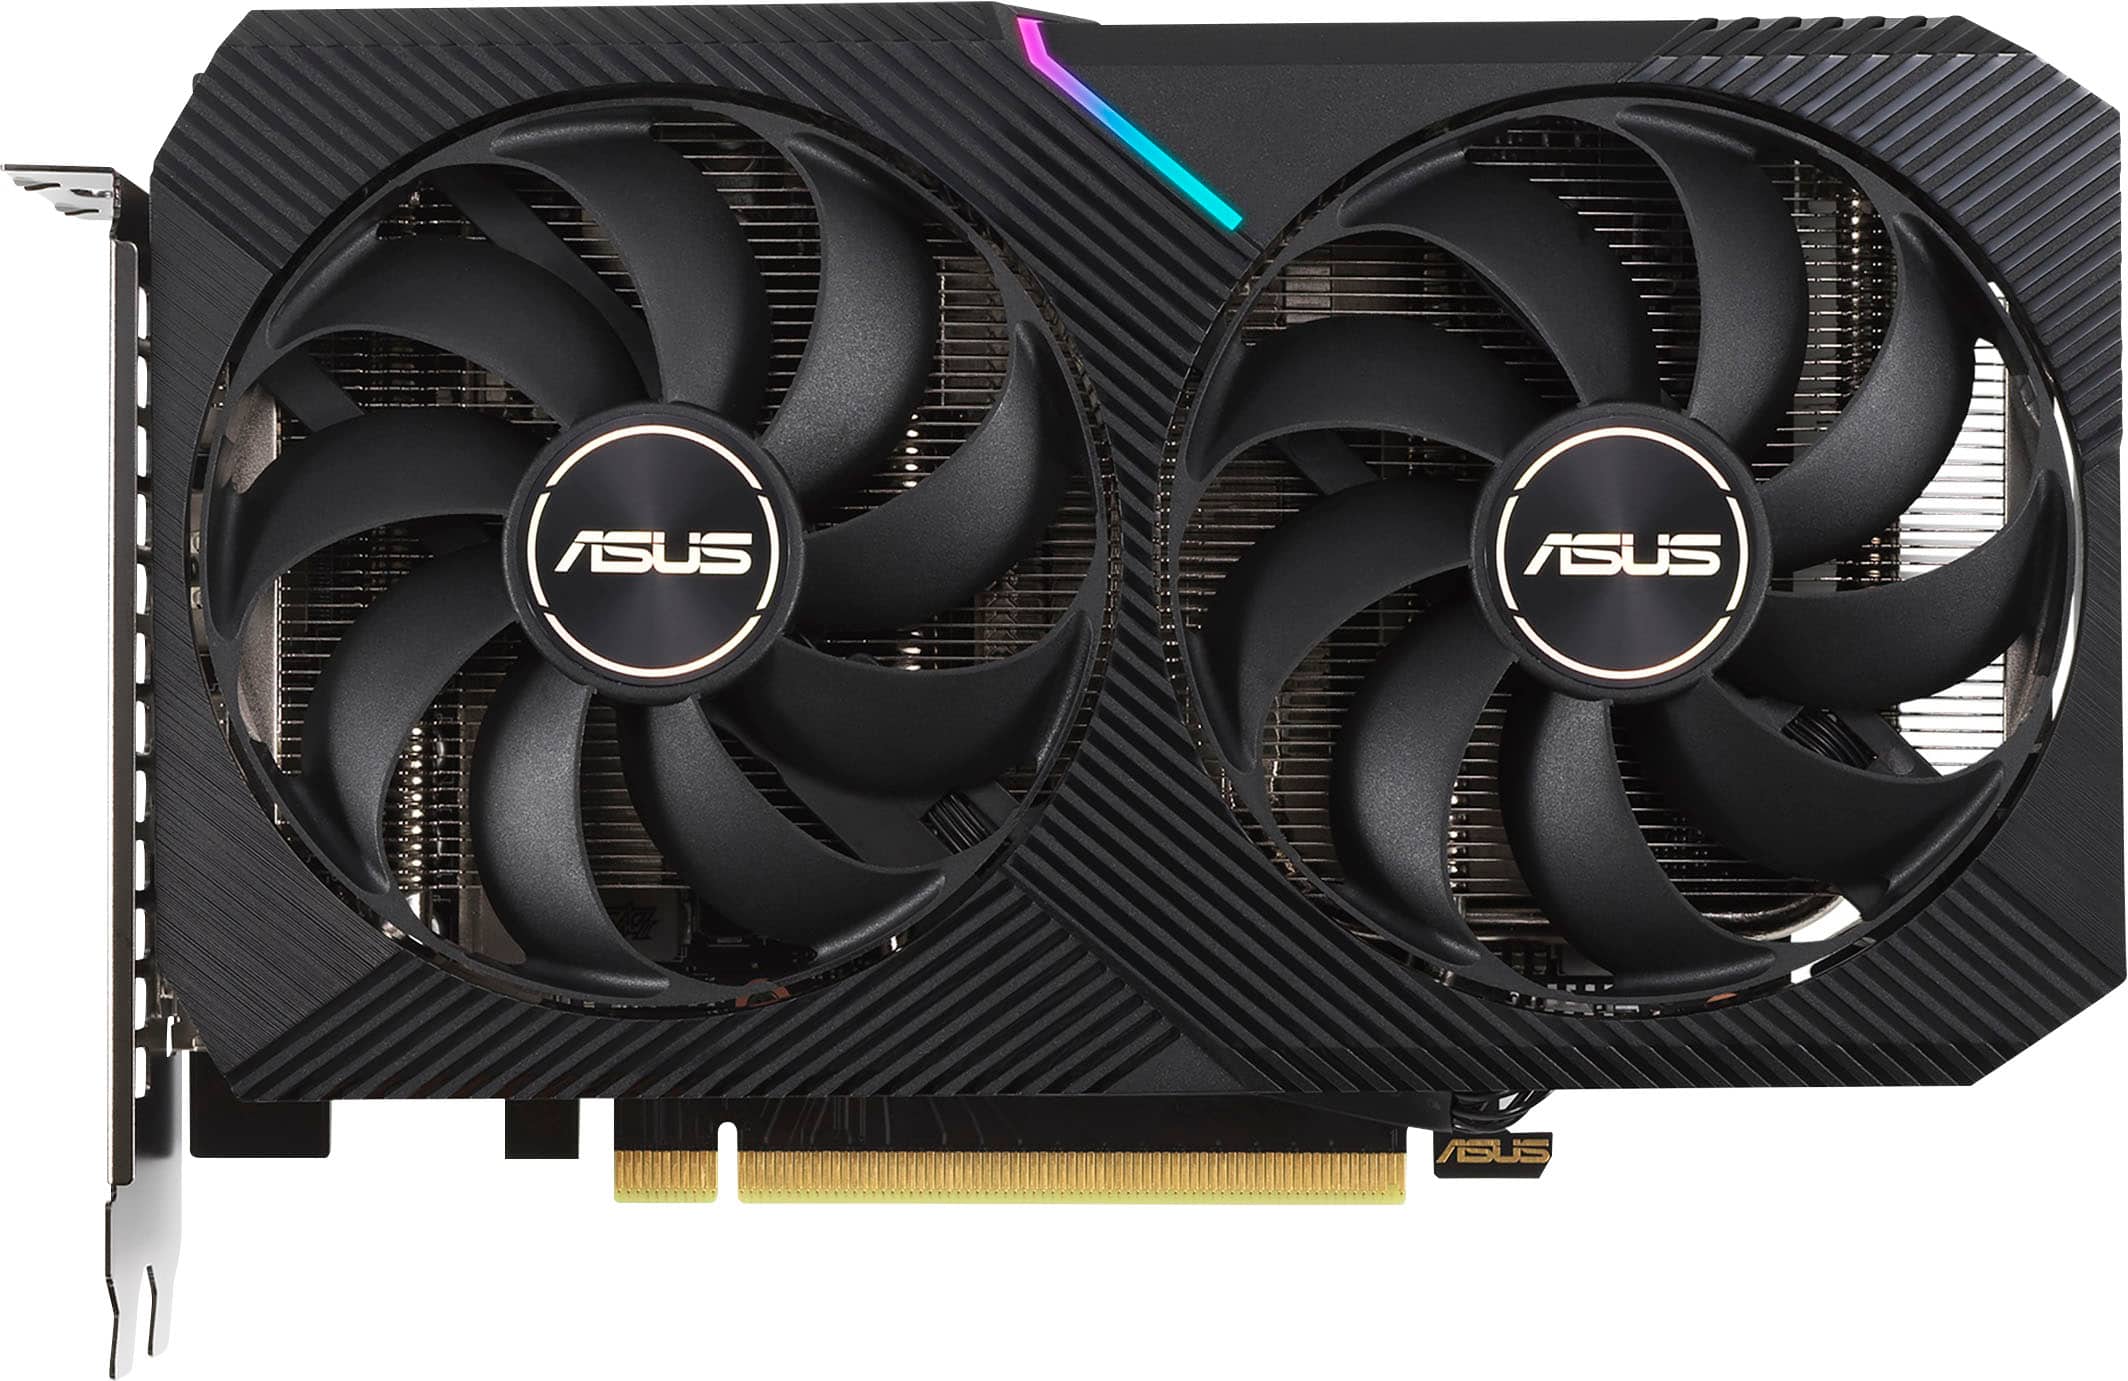
The NVIDIA RTX 3060 hits the sweet spot between cost and performance. Its second‑generation NVENC can encode 1080p @ 60 fps 10‑bit H.264 streams in under 5 ms of encode latency, meaning the video leaves the PC almost as soon as it’s captured. That sub‑5 ms figure is a hard technical spec from NVIDIA, and it translates directly into a tighter, more responsive broadcast for fast‑paced FPS matches.
- Power down the rig and open the case; locate the PCIe x16 slot nearest the CPU.
- Insert the RTX 3060 firmly, ensuring the metal bracket aligns with the case rear.
- Secure the card with the supplied screw and reconnect any required power connectors (8‑pin).
- Close the case, boot Windows, and download the latest Game Ready driver from NVIDIA’s site.
- In OBS Studio, go to Settings → Output → Encoder and select "NVIDIA NVENC (new)"; set the preset to "Low‑Latency High Performance" and enable "Look‑ahead" only if your GPU can sustain the load.
After the driver install, verify the encoder is active by opening the NVIDIA Control Panel → Video → Encoder Settings. Enable the "Hardware Acceleration" toggle and confirm the output resolution matches your stream (1080p60). Finally, run a short test stream to measure end‑to‑end latency with a stopwatch and a known reference (e.g., a local OBS preview). If you see consistent sub‑50 ms numbers, your hardware‑accelerated pipeline is ready for tournament‑grade commentary.
Step 4: Build a Wired 2.5 GbE Network
A sub‑50 ms broadcast chain collapses the moment Wi‑Fi interference or packet loss enters the path. Ethernet eliminates the variable latency of wireless radios and gives you deterministic, full‑duplex bandwidth that NDI‑based video feeds demand. By moving both the capture rig and the broadcast workstation onto a dedicated 2.5 GbE link, you lock the round‑trip time to well under 10 ms, leaving ample headroom for encoding and overlay rendering.
The Netgear XS708T 8‑port 2.5 GbE switch is a favorite among indie eSports crews because it delivers low‑jitter, full‑duplex traffic without the cost of a 10 GbE chassis. Its built‑in QoS engine can prioritize NDI and OBS streams, ensuring that high‑resolution frames aren’t delayed by background traffic. The switch’s fan‑less design also keeps acoustic noise out of your commentary booth.
- Run a single Cat‑6a cable from each PC’s 2.5 GbE NIC to any two ports on the XS708T.
- Assign static IPs in the same subnet (e.g., 10.0.0.10 for the capture PC, 10.0.0.20 for the broadcast PC).
- Log into the XS708T web UI and enable QoS; set a high priority rule for the UDP ports used by NDI (typically 5960‑5999).
- Disable any power‑saving or “green Ethernet” options on the NIC drivers to prevent occasional link throttling.
- Verify the end‑to‑end latency with the free NDI Tools “Latency Checker” before you go live.
Once the physical link is up, run a quick ping test (ping -n 100 10.0.0.20) to confirm sub‑1 ms round‑trip times. Then launch NDI Scan Converter on the capture PC and NDI Monitor on the broadcast PC; the latency readout should sit comfortably below 20 ms. With the network locked down, the remaining latency budget is spent on encoding and overlay processing, keeping your commentary crisp and in sync with the action.

Step 5: Configure OBS Studio with NDI Source
Start by downloading OBS Studio version 30 or newer from the official site and run a clean install. Next, grab the NewTek NDI plugin (OBS‑NDI) from the NDI SDK page and drop the installer into the OBS plugins folder (usually C:\Program Files\obs-studio\obs-plugins\64bit). After restarting OBS, you’ll see a new “NDI Source” option under the Sources menu – this is the bridge that will carry your game feed over the 2.5 GbE link without copying frames in RAM.
Open Settings → Output and switch to **Advanced** mode. Under the Streaming tab, select **NVENC (HEVC)** as the encoder and set the **Keyframe Interval** to **0 ms** – OBS’s documentation confirms this yields the lowest possible latency for hardware‑accelerated streams. Choose a target bitrate of 25‑30 Mbps for 1080p 60 fps, enable **Psycho Visual Tuning**, and turn off **Look‑ahead** to keep frame‑processing time under 1 ms. These tweaks keep the GPU’s encoder pipeline humming without introducing buffering delays.
Add the NDI source to your scene, then click **Properties** and point it at the NDI stream coming from your capture PC (it will appear as “NDI‑<ComputerName>”). In the same dialog, enable **Hardware‑Accelerated Encoding** to force the feed through the GPU’s NVENC path instead of software scaling. Finally, open Edit → Advanced Audio Properties, locate the NDI audio track, and set a **Sync Offset** of -10 ms to counteract the tiny packet‑travel time measured with OBS’s Stats window. Run a quick “ping‑test” by broadcasting a test clip and watching the “Render Delay” metric; you should see a total end‑to‑end latency hovering around 45 ms, comfortably under the sub‑50 ms target.
- Download and install OBS 30+.
- Install the NewTek NDI plugin (OBS‑NDI).
- Set Output → Advanced → Encoder = NVENC (HEVC), Keyframe = 0 ms.
- Add an NDI Source, enable hardware‑accelerated encoding.
- Adjust audio sync offset to –10 ms and verify latency in Stats.
Step 6: Test and Verify Sub‑50 ms Latency
Before you go live, lock in the actual round‑trip delay with the OBS Latency Measurement Tool. The plug‑in reads the timestamp from a frame that leaves OBS, traverses the NDI pipeline, and returns as a preview, giving you a single‑number end‑to‑end latency. Pair it with NewTek’s NDI Test Pattern, which streams a moving‑bars sequence at 1080p 60 fps, so you can visually confirm that each bar aligns perfectly with the OBS timestamp overlay.
1️⃣ Add the NDI Test Pattern as an NDI source in OBS. 2️⃣ Start the pattern at 1080p60 on a separate machine or virtual NDI sender. 3️⃣ Open the latency tool (found under Tools → Latency Measurement) and press “Start Capture”. OBS will display the measured delay in milliseconds. Record the value, then drop the encoder preset from “Quality” to “Performance” or tweak the preset‑level slider until the reading settles below 50 ms. Remember that each step down reduces CPU load and can shave 5‑10 ms off the chain.
If the latency still hovers above the target, check two common culprits: network jitter and bitrate. Reduce the NDI bitrate in the sender settings (e.g., from 100 Mbps to 80 Mbps) and re‑run the test; a cleaner packet flow often drops a few milliseconds. Finally, verify the OBS stats window—look for “Dropped Frames” and “Render Delay”. Zero drops and a render delay under 5 ms confirm that your broadcast chain is truly sub‑50 ms and ready for high‑stakes FPS commentary.
Conclusion & Next Steps
You’ve now assembled a sub‑50 ms broadcast chain that hinges on four proven pillars: a high‑clock‑speed CPU with low core latency, fast DDR5‑5600 memory, a GPU with a dedicated NVENC encoder, and a wired 2.5 GbE network feeding OBS Studio’s NDI source. Each component was chosen to eliminate buffering, reduce packet‑loss, and keep the pixel pipeline moving at line‑rate, ensuring your commentary stays in lockstep with the on‑screen action.
Before you hit “Go Live” for the next tournament, run the OBS Latency Meter for at least three full rounds, record the round‑trip time, and compare it against your target 50 ms budget. Keep your GPU drivers, motherboard BIOS, and NIC firmware up to date, and schedule a quick latency sanity‑check after any hardware or software change. A clean thermal profile (below 75 °C under load) and a stable power supply are also non‑negotiable for maintaining that razor‑thin margin.
Looking ahead, you can tighten the chain even further with a few strategic upgrades. A 10 GbE NIC can shave another 5–10 ms off the total pipeline, while moving to an RTX 4070 gives you the latest NVENC generation and higher bitrate ceilings. DDR5‑6000 modules reduce memory latency, and an 8 GbE intermediate step offers a cost‑effective bridge if 10 GbE is out of reach today.
- Upgrade to a 10 GbE NIC – 5–10 ms latency reduction (TechRadar).
- Swap to an RTX 4070 – newer NVENC, higher quality at lower CPU load.
- Install DDR5‑6000 – tighter CAS latency improves frame‑grab timing.
- Add an NVMe PCIe 5.0 SSD – faster capture and quicker file writes.